![]()
Game Setup
This guide is in need of a revision, it is not up to our current standards
The information it provides is still likely good but we can't guarantee it.
TWO-TORIAL is a community-driven project with limited resources.
If you want to help us out, you're more than welcome to contribute!
You must obtain clean, unmodified and complete data to proceed with our guides
Corrupted or incomplete files will cause unpredictable issues we can't cover.
TWO-TORIAL does not provide or distribute game data. Do not ask.
Getting Started
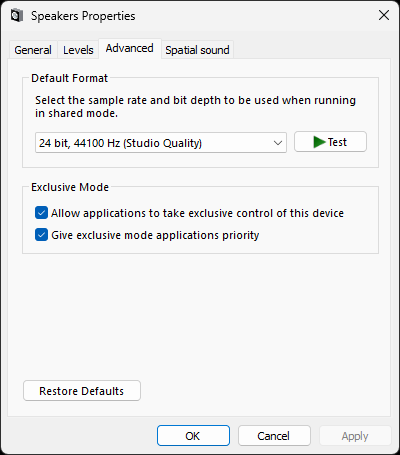
Before we even touch the game, let's fiddle with our audio settings to minimize any potential crashing on startup. In Windows, go to Playback Devices and then right click on your default device and go to Properties. From there, hit the Advanced tab and set your Default Format to 44100 Hz and check both of the options inside Exclusive Mode as pictured.
Once that's done, it's time to work on setting up your data.
After downloading your data, the first thing to do is make sure your files aren't set to READ ONLY, make sure to uncheck it from the main folder in the Windows Properties tab if so. Then, put your desired 64-bit tools inside the game's contents folder, Pictured below is what your folder should look like.

Configuring Your Tools
Now that you have your files ready, open up spicecfg.exe and head to the Options where we'll set our desired parameters. For the purpose of this guide, we will demonstrate both a local network configuration and an online example below with SpiceTools, skip to whichever you're in need of accordingly and please keep in mind you can add whatever additional parameters you desire.
If you're not using SpiceTools:
You will have to likely generate a .bat file given your existing tool's documentation. As stated above, make sure to check the documentation of your tools to ensure you're using the correct parameters for your needs and to consult appropriate support if you're unsure how to do this.
Configuring for a Local Network
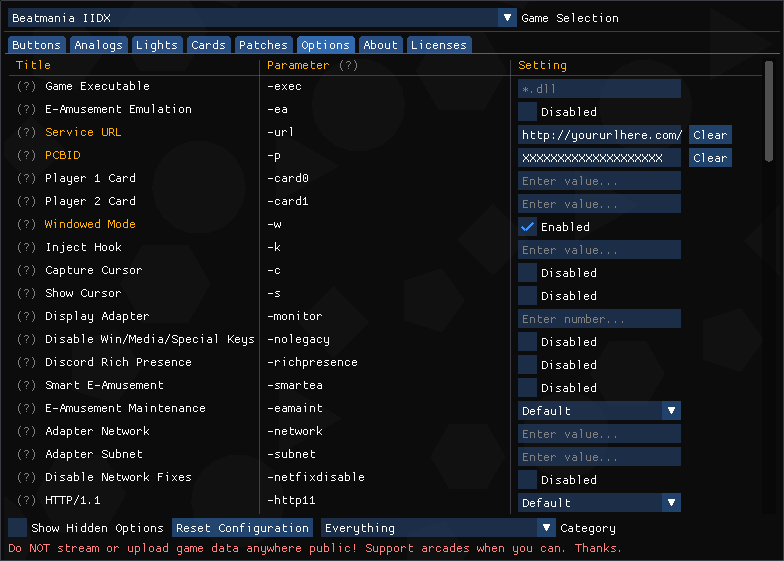
For our local network configuration example, inside Options tab we're going to click on the following: E-Amusement Emulation: -ea and Windowed Mode: -w to enable them.
What do these different parameters do?
-eaenables an integrated e-amusement server within SpiceTools.-wwill boot the game in windowed mode which will ease our initial setup and testing later, make sure to remove-wto run the game fullscreen once you're done setting up!
Pictured below, the selected options inside the Options tab in spicecfg.exe.

Configuring for an Online Network
For our online network example we're simply doing the above but with different parameters! On the Service URL: -url parameter, we're going to input our chosen network URL like so: http://yoururlhere.com/
To go alongside this, we'll also be inputting into the PCBID: -p parameter, the PCBID given to us from our network, like so: XXXXXXXXXXXXXXXXXXXX
Lastly, we'll click on the Windowed Mode: -w parameter.
What do these different parameters do?
-urlallows you to specify a custom service URL to connect with, simply replacehttp://yoururlhere.com/with your chosen network's URL.-ptakes your PCBID on your network of choice, simply replaceXXXXXXXXXXXXXXXXXXXXwith your PCBID.-wwill boot the game in windowed mode which will ease our initial setup and testing later, make sure to remove-wto run the game fullscreen once you're done setting up!
Pictured below, the selected options inside the Options tab in spicecfg.exe.
One final note, since you're playing on a network, you will have one additional step of setting up your card file within your chosen tools, make sure to check your server's information on how to setup a card file.
Final Steps and Setting up the Game
The last steps you'll have to do with your chosen tools is simply setting up your desired keybinds inside the Buttons and Analogs tabs! Make sure you setup the Test keybind as it will be critical for setting up the game.
Once you've done that, launch your game for the first time by double clicking the spice64.exe and the game should load with your chosen parameters from spicecfg.exe.
If it's your first time running the game, you'll immediately be greeted with this screen, oh no!
Ignore this message, simply hit your Test keybind and continue onto this.
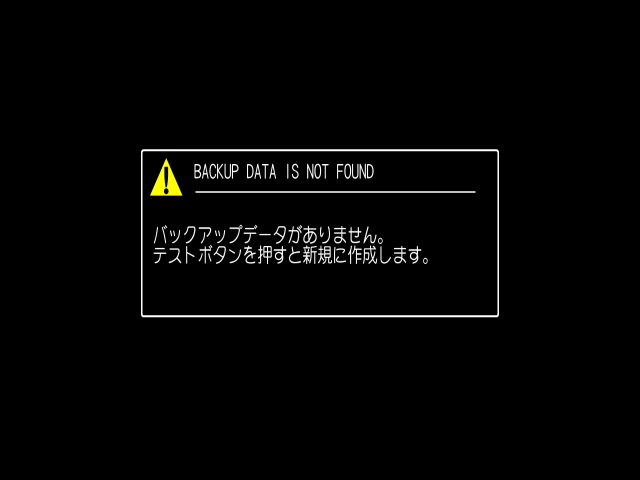
Hit the Test keybinding to initialize the backup data, a message will pop up stating it's been initialized.
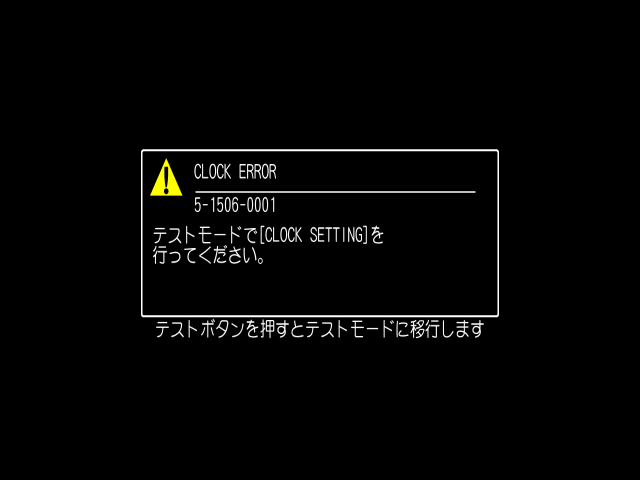
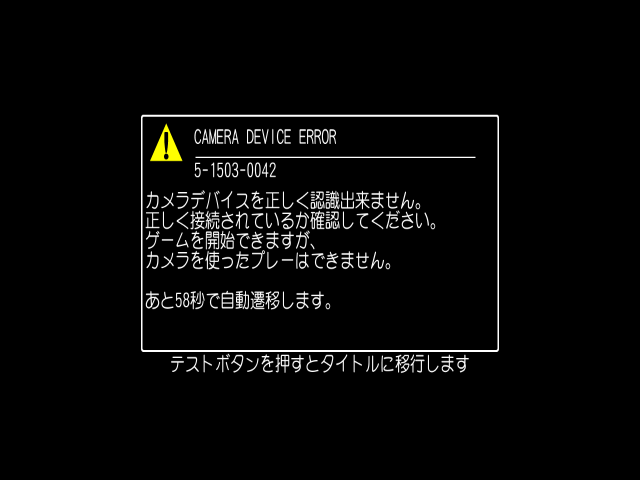
You'll also run into this error message as well, let's work on eliminating these messages. Let the game run for a bit until the monitor check is complete and you should be taken to the service menu pictured below.
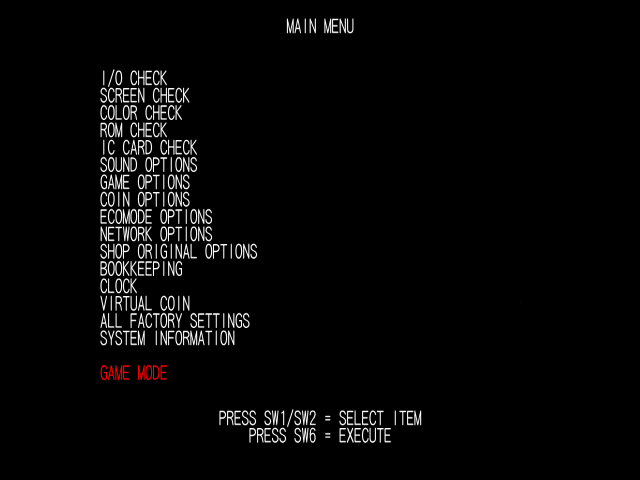
Start by navigating up to CLOCK and entering that menu.
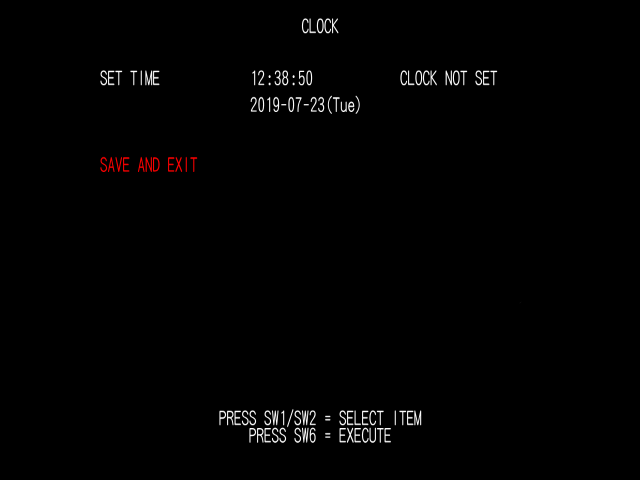
Simply hit save and exit and leave, the clock will be saved. Then, back in the service menu, go up to GAME OPTIONS

Once inside that menu, navigate your way up to DEFINITION TYPE and choose either SD or HD depending on your preferences.
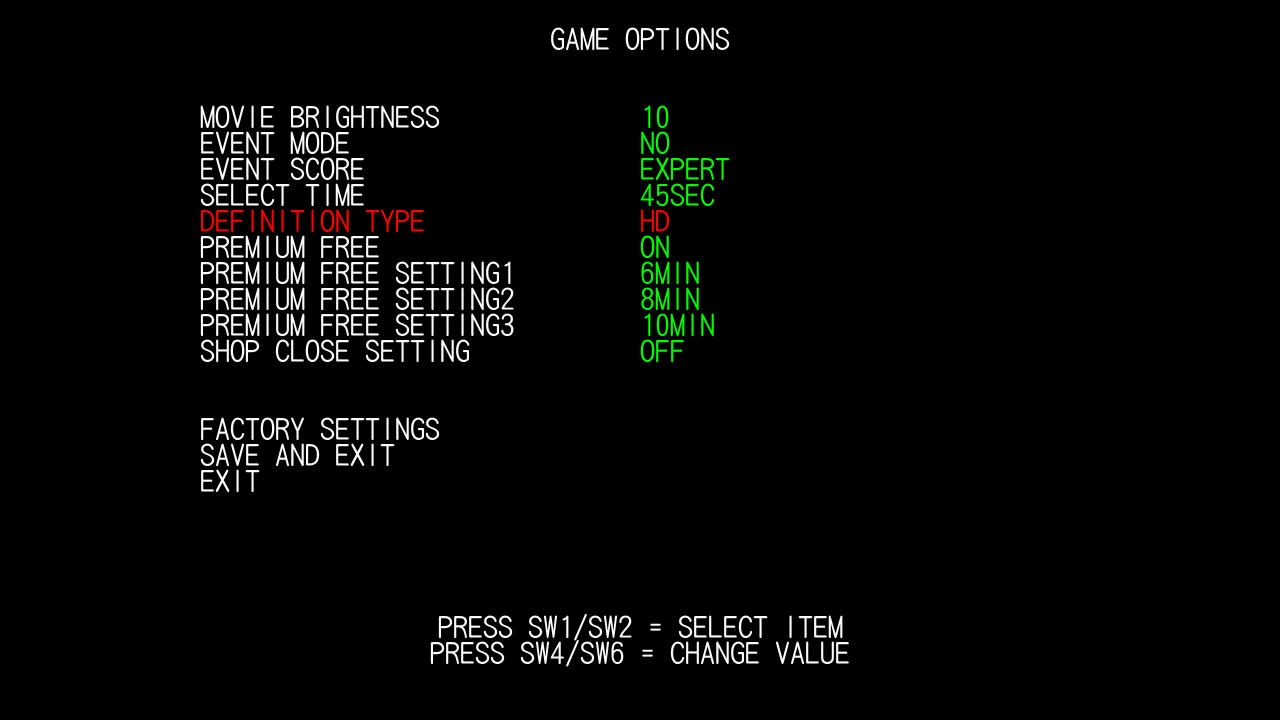
The game will then count down asking you to confirm the selection before reverting, just hit YES assuming it loaded just fine on your computer. Then, exit out of that menu and head to NETWORK OPTIONS from back inside the service menu.
If it doesn't transition to HD, after you've saved, you can simply reboot the game and all should be well.
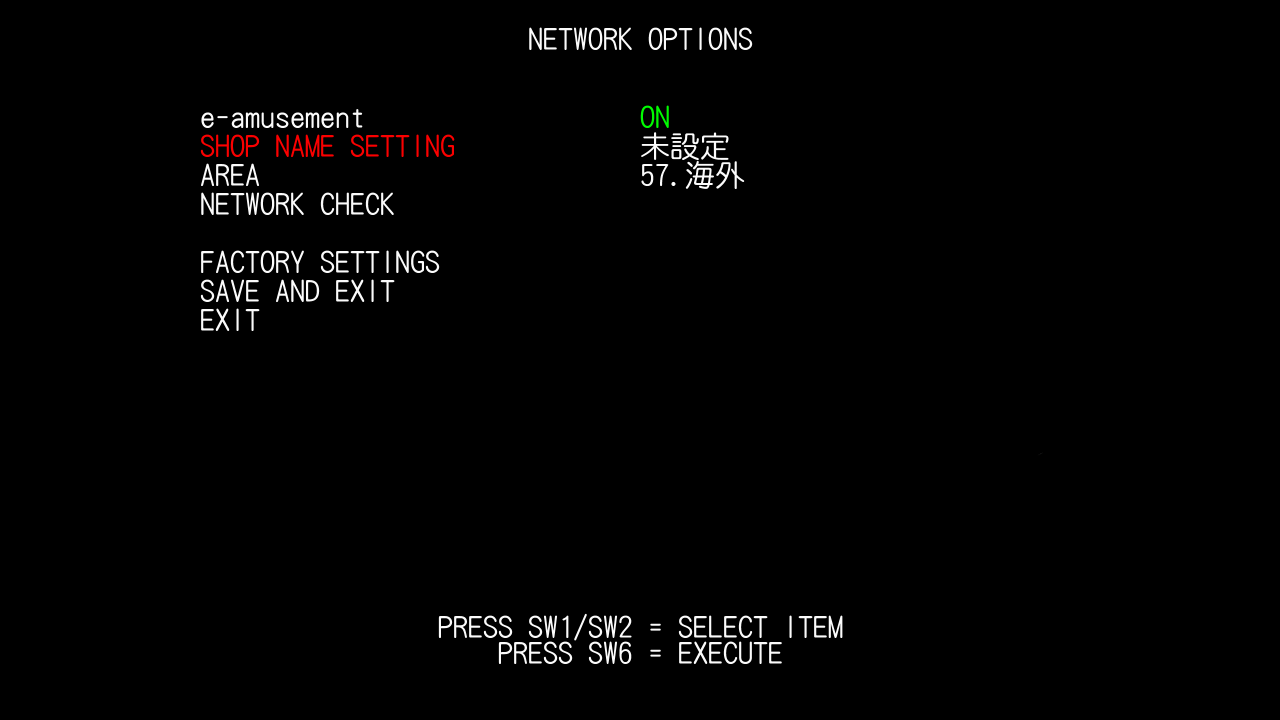
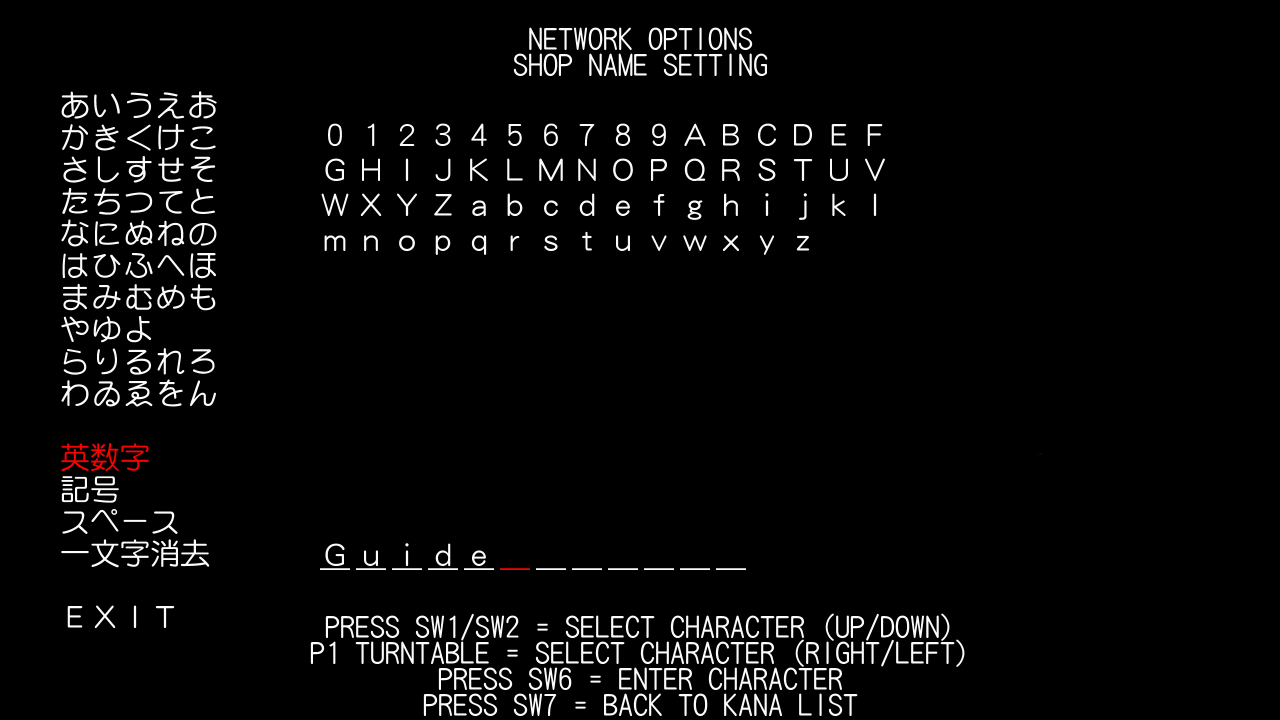
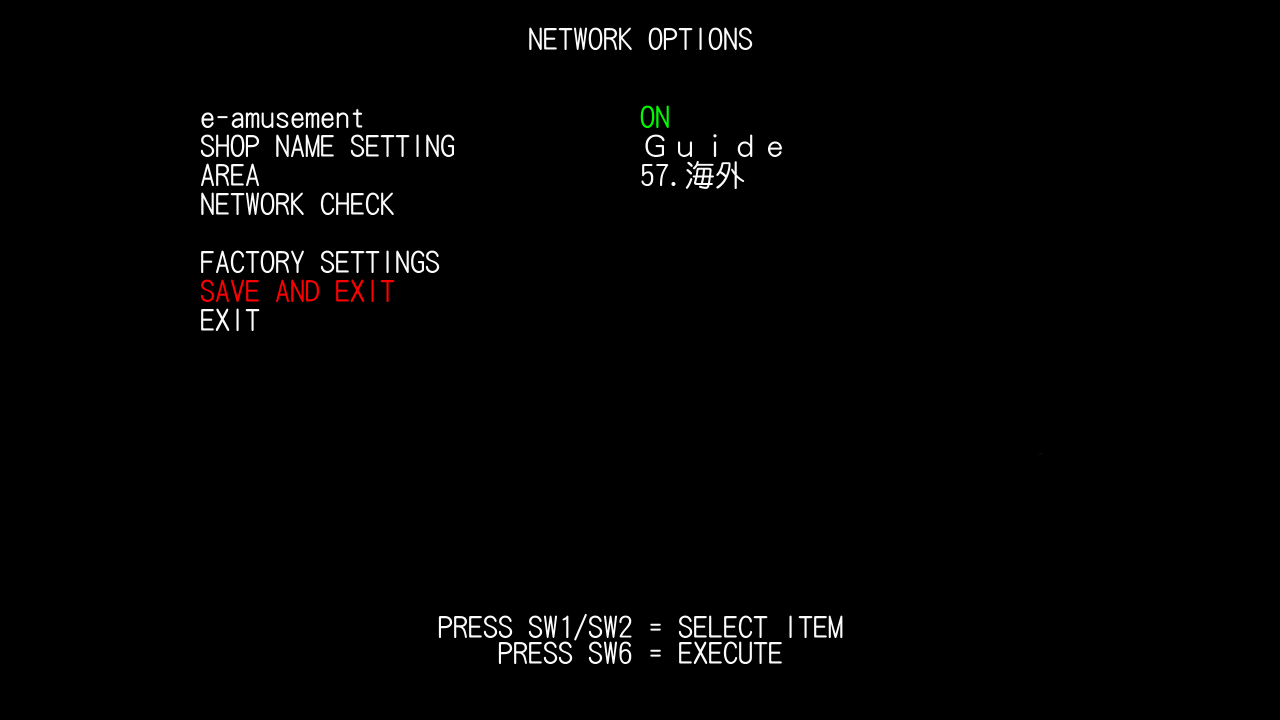
The final thing we need to set is here inside NETWORK OPTIONS, we will need to set a shop name to play, so select the SHOP NAME SETTING option. Once inside, name your shop whatever you desire! For the purpose of the guide, we named it Guide but highly encourage fun and/or lazy names. Once that's done go to EXIT and then SAVE AND EXIT inside of NETWORK OPTIONS once you've chosen your desired name, as pictured below.
You're all done! From the service menu select GAME MODE and the game should load ready to be played! Have fun!
Have any other errors?
Check out the Troubleshooting section and Error Code section to resolve any issues not seen in this guide to greater depth.
Lightning Mode specifics can be found in the Extra Information