![]()
Game Setup
You must obtain clean, unmodified and complete data to proceed with our guides
Corrupted or incomplete files will cause unpredictable issues we can't cover.
TWO-TORIAL does not provide or distribute game data. Do not ask.
Preparing data
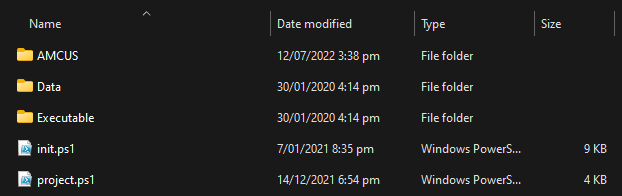
Taiko is generally distributed as a single folder. For Nijiiro, this will be SBWY 39.06. The game folder should contain an AMCUS, Data and Executable folder.
Nijiiro is a rolling release so please verify your game version by opening AMCUS\AMConfig.ini and verifying that it says cacfg-game_ver=39.06
NAMCO data is also distributed as .VHDX and .VHD files. These files are useful for archival purposes, but are not required to run the game. Always download the unpacked data for home use
Installing TaikoArcadeLoader (TAL)
TaikoArcadeLoader:
TaikoArcadeLoader is a loader and hardware emulator for Nijiiro. It will allow us to launch the game, as well as configure inputs and network settings. More information can be found at the TAL github page.
-
Download the latest version of TAL from the actions tab of the TAL page. This will be a file named
TaikoArcadeLoader. You will need to be logged into github to download this file. -
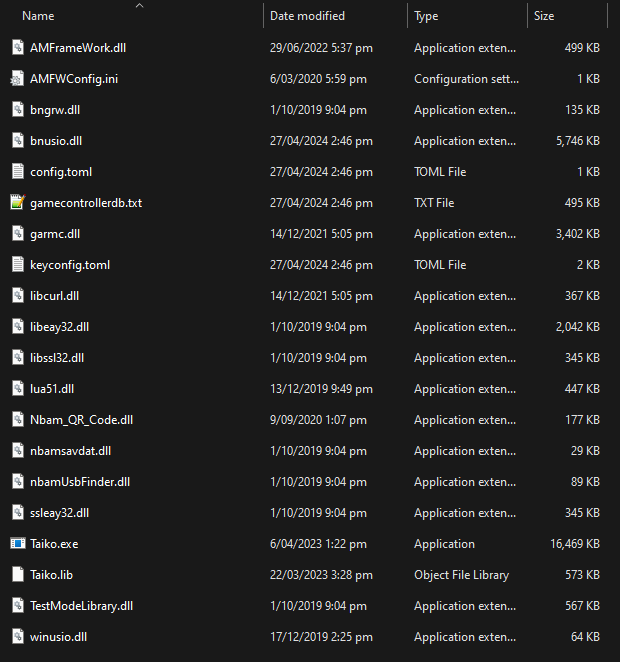
Copy the files from
TaikoArcadeLoader.zipto yourExecutable/Releasefolder. When asked, choose to replace the existing files with the newly copied files.
Configuring TaikoArcadeLoader
The configuration information for TaikoArcadeLoader is stored within config.toml.
Open up config.toml with a text editor of your choice. We'll be using Notepad++.
config.toml is separated into several sections, indicated by the section name in [square brackets]
Information for this can be found at the TAL github page.
The [amauth] section contains network related config
server =can be left default if playing on a local server or offline but it is recommend to play on an online network.port =do not change unless you know what you are doing.chassis_id =do not change unless you know what you are doing.shop_id =mostly visual. change if you want to.game_ver =mostly visual. change if you want to.country_code =do not change unless you know what you are doing.
The [graphics] section contains patches
res =change to your display's resolution.windowed =set totrueif you want to run the game in windowed.cursor =mostly visual. change if you want to.vsync =set totrueif your display is set to 120 Hz.fpslimit =do not change unless you know what you are doing.model_res_rate =do not change unless you know what you are doing.
The [keyboard] section contains keyboard related config
auto_ime =if set to true, changes your keyboard layout to Qwerty until the game is closed.jp_layout =should be set totruefor actual japanese keyboards.
Configuring Inputs
Depending on the input method you choose, the configuration for them can change slightly. Below are all the input methods available and how to set them up.
Keyboard
Keyboard is the default input method.
The default layout uses:
- DF JK for the P1 drum input
- ZX CV for the P2 drum input
- P to
Insert Card - F2 to
SERVICE - Enter to add coins
If you wish to view or change all the default keybinds, you can do so in keyconfig.toml
Controller
The setup for both drum and normal controllers is the same.
- In
config.tomlsetwait_period =to0 - If you are using a controller that does not use keyboard inputs, you need to set SDL keybinds in
keyconfig.toml - When you're using an analog input for the drums, you need to set
analog_input = falsetotrueinconfig.toml
A list of valid SDL inputs can be found at the bottom of keyconfig.toml
!!! danger "If you're using 2 controllers, use JoyToKey and remove SDL inputs from keyconfig.toml"
Physical Card Readers
You can insert your card with physical card readers. If you happen to have one, you can set them up to use them for Taiko no Tatsujin Nijiiro.
AIC Pico
- In
config.tomlsetcard_reader =tofalse. - Update to the latest firmware
- Inside
AMFWConfig.inichange COM4 to the port of your AIC Pico
ACR122U
- In
config.tomlsetcard_reader =totrue. - Use AkaiiKitsune's tal-cardreader plugin
If you don't have a physical card reader, you can skip over to the Networks section
Networks
Please choose one of the two solutions, not both!
Online Hosted Servers (Recommended)
There are a few online hosted servers that support Nijiiro, however most of them are currently invite only. Ask your friends where they play, and maybe they'll invite you!
Elara Global Taiko Server
EGTS is the only public Nijiiro server that also comes with an Omnimix verison that includes custom songs and songs from other Taiko games.
Self Hosted Local Servers (Complex)
If you wish to run the game locally, but with the ability to create and save a profile, you can run a server on the same computer you are playing the game on. This server will need to be running before you launch the game, however it can be shut down when you are no longer playing.
Any provided setup instructions are likely to become outdated rather quickly.
Please refer to the included setup instructions on each projects respective web page.
- TLS - A network service emulator for Nijiiro. Setup can be complex as you are required to build TLS from source using VisualStudio and
.slnfiles.
Pre-launch requirements
These steps are required, otherwise your game won't run
VCRedist & DirectX
- Download and install the latest VCRedist
- Download and install the DirectX End-User Runtimes
First Launch
Run Taiko.exe to start the game.
Enter the I/O setup screen by pressing F1 on the Attract screen then using the arrow keys and Enter, navigate to I/O TEST -> TAIKO TEST. Adjust these settings to your liking as they vary between controllers and keyboards. If you are unsure just leave the defaults as is.
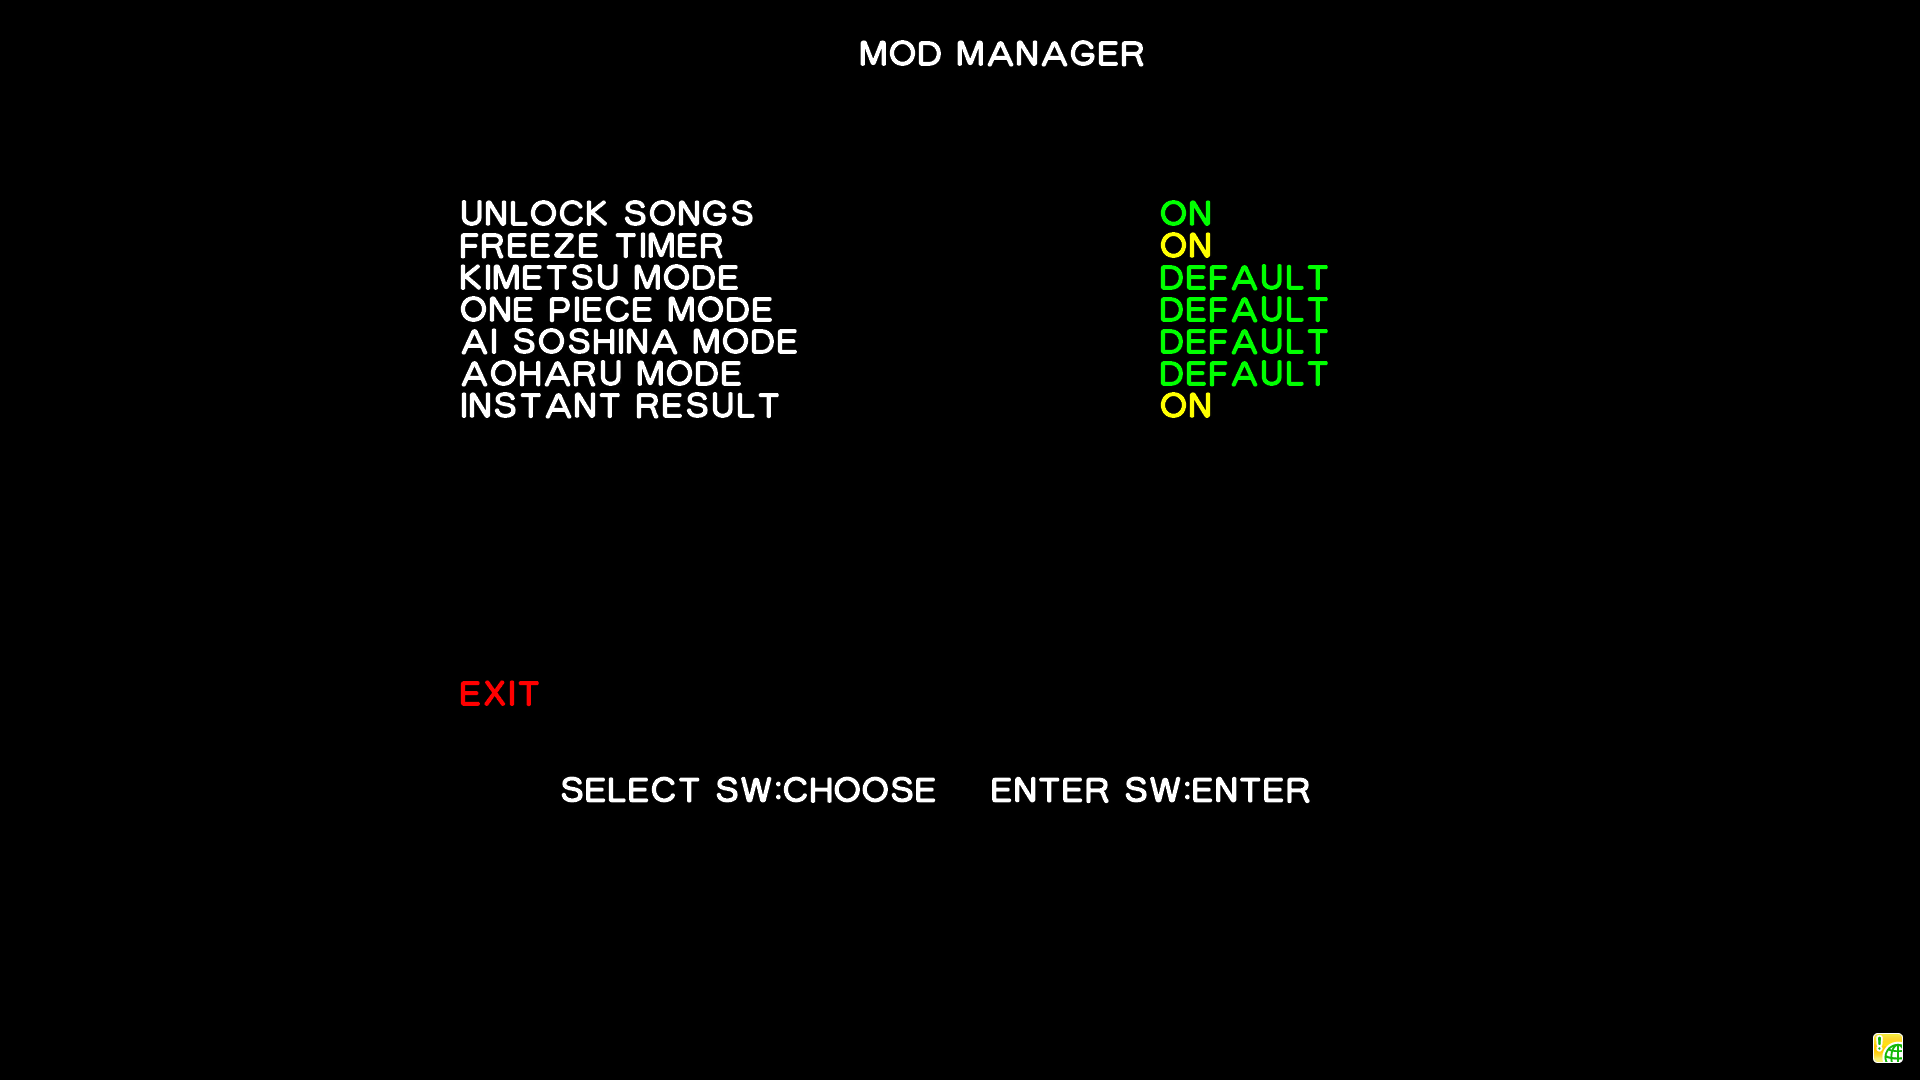
If you would like to adjust patch settings enter the test menu by pressing F1 on the Attract screen then using the arrow keys and Enter, navigate to MOD MANAGER.
You're all done! The game should load up properly now.
Troubleshooting
Have any other issue?
Check out the Troubleshooting page.